Sidebar
intuit_quickbooks
Table of Contents
Intuit QuickBooks Online
Your mobile device can directly interface with Intuit QuickBooks Online data, using visually created query commands in a graphical tree. The query commands include insert, update, select and delete. Note that QuickBooks Desktop version cannot be accessed by ViziApps.
Start with a Template App
ViziApps has created a template app that you can load into your account and use as an example or even modify. Look for the template app called QuickBooks Online Demo. Also read our Quick Start Guide to learn the fundamentals of building and testing mobile apps with ViziApps.
The template app will show you how to query for the the customer list and allow you to create a new invoice. These are just a few of the functions available - ViziApps supports the entire data set available in QuickBooks Online.
Test Account
You use your own QuickBooks Online account when developing, testing, and using ViziApps, so if you make any modification queries (i.e. insert, update, and delete), you will be making live changes that you probably do not want to explain to your accountant. Therefore we suggest that for all development and testing, you sign up for a QuickBooks Online Free Trial Account.
Set up data-use fields and events
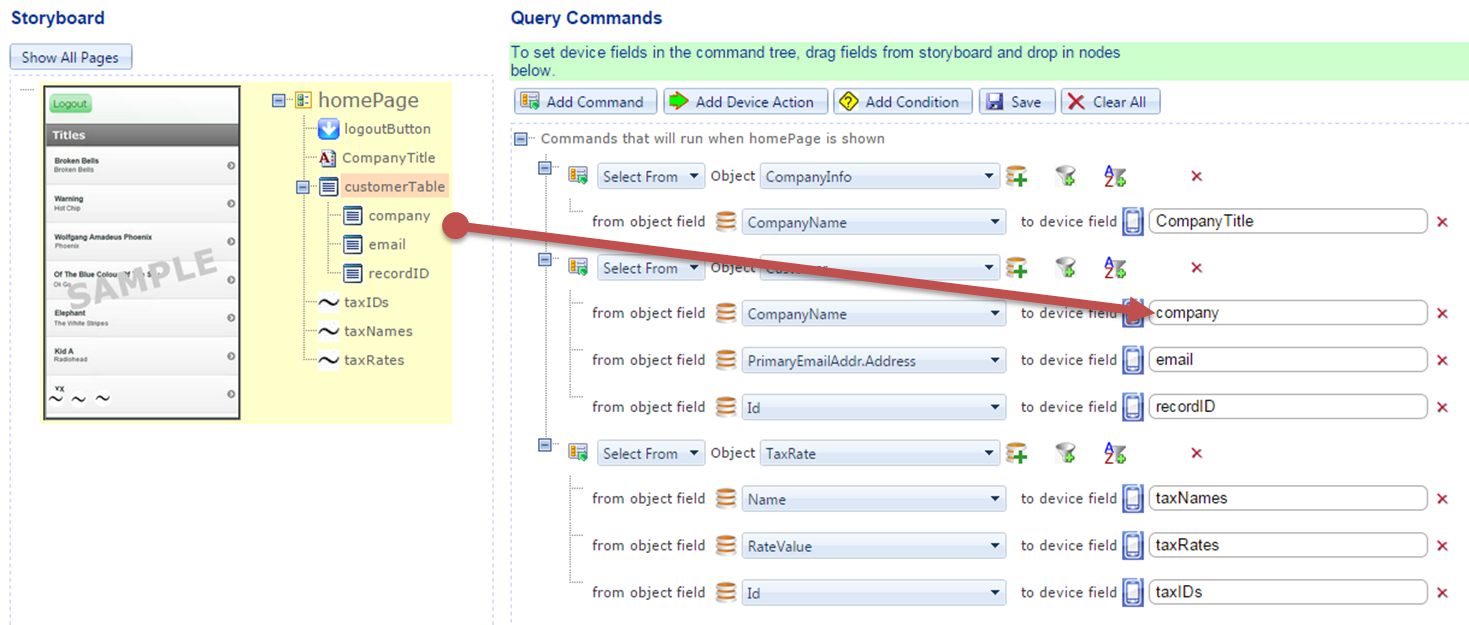
One of the most common ways to display data for a user is to first present a scrolling list of selections within a Table Field  . A typical configuration is to show 2 text fields (a title and subtitle) with a hidden field that is used as a primary key into the data set for requesting more information after a user taps a table row.
How does your app know when to query QuickBooks Online and fill in the table? Very often you will simply want the user to tap a button. Create a Button Field  , then configure the tap event to: “Get or send device data via a web data source”. Later, when you set up the Manage Data properties for the page containing the new button, this button event will appear as a trigger source for initiating a query. You can also have the data query run automatically “when the page shows”.
Create a Data Source
If you are familiar with the registration process for other ViziApps data sources, you will notice that using Intuit QuickBooks Online is different; it does not require service account registration with Intuit. The following steps show you how to set up QuickBooks Online as a data source.
Create a New App Data Source
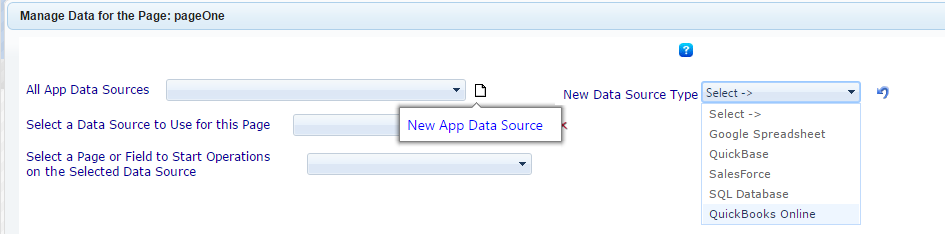
Go to the page that contains the user interface elements that you would like to associate with QuickBooks Online. Click the Manage Data button, and the Manage Data for the Page dialog will appear. Click on the New App Data Source icon, and then select QuickBooks Online as the New Data Source Type.
Add a New Page Data Source
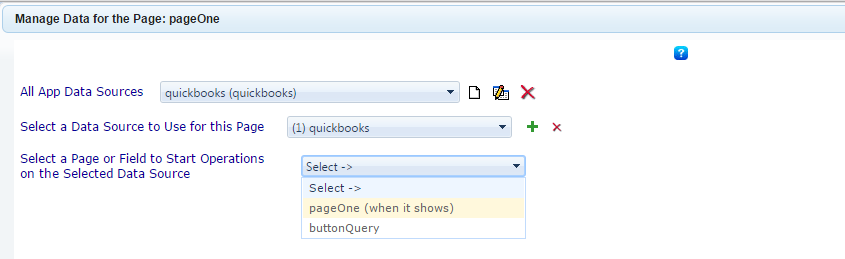
Click on the Add Page Data Source icon, and the select quickbooks as the Add App Data Source. Your will then be ready to start building data queries for your app.

Select the user action to trigger the query
Select the Field to Start Operations, e.g. the Button Field that you created earlier and assigned to Get or send data, or the page “when it opens” event.
Build the query
- If your query is triggered from a button event on a different page, you may want to have the page changed so the user will see the results. Before inserting query commands, click the Add Device Action button, select Go To Page, and then select the page that will show the query results, such as the page containing a Table Field.
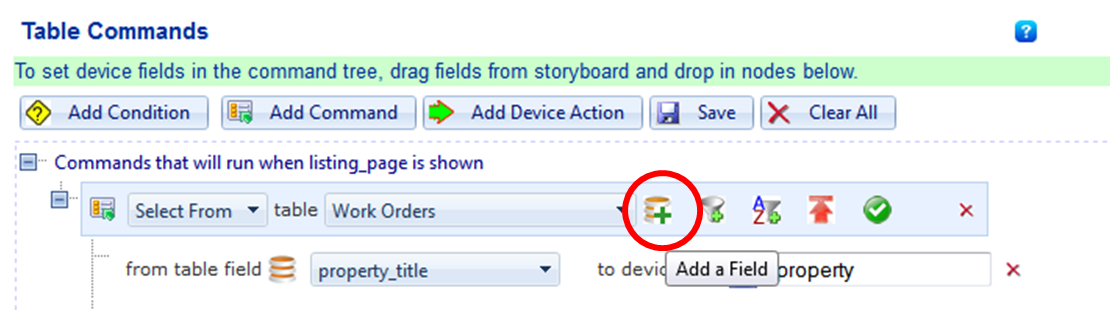
- Click the Add Command button, and then click the Add Field icon.
- Continue adding fields for each item that you want to use. For each item, select the column header name from the worksheet field, and then type the name of a ViziApps field or drag a field name from the storyboard on the left.
- Click the Save button. You can now test your app directly in your web browser by clicking “App Preview”, and you can also test on real devices, as described in our Quick Start Guide.

